Mastering the Perfect Winged Eyeliner: Tips and Tricks for Glamorous Eyes
1. Choose the Right Tools

Before diving into creating the perfect wing, it’s essential to have the right tools on hand. Opt for a high-quality liquid eyeliner with a fine-tipped brush or a gel eyeliner with an angled brush for precise application. Additionally, ensure that your eyeliner is well-pigmented for intense color payoff.
2. Prep and Prime
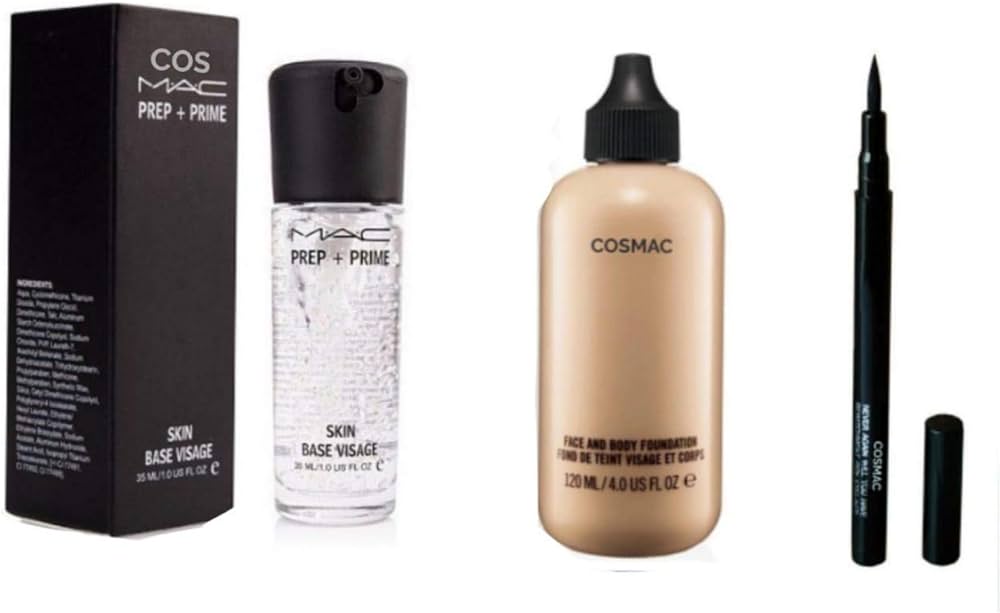
Start by prepping your eyelids with a primer to create a smooth canvas for your eyeliner application. This will help the eyeliner glide on effortlessly and prevent smudging or fading throughout the day. Set the primer with a translucent powder to absorb any excess oil and lock the product in place.
3. Map Out Your Wing
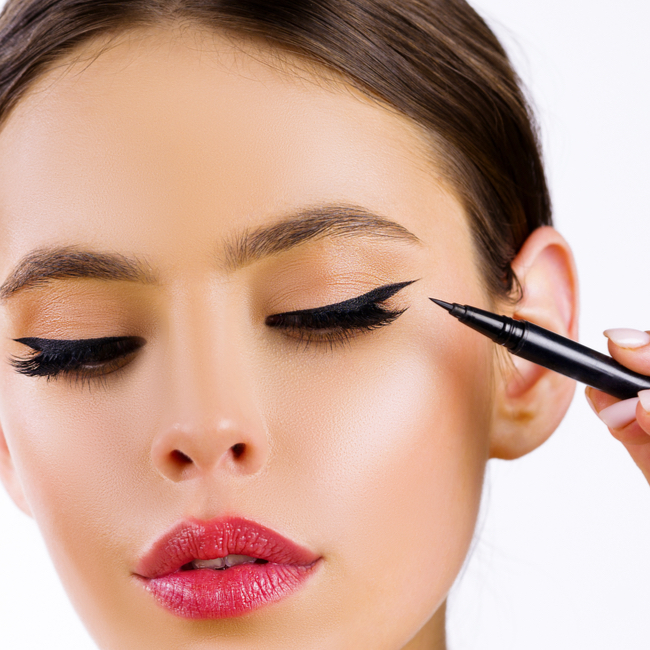
To achieve symmetrical wings, begin by outlining the desired shape with small dots or dashes along the lash line and extending towards the outer corner of the eye. Use these markers as a guide to connect the dots and create a smooth, fluid line. Remember, practice makes perfect, so don’t be afraid to experiment with different angles and shapes until you find what works best for you.
4. Start Thin and Build Up

When applying the eyeliner, start with a thin line along the lash line and gradually build up the thickness as needed. This will prevent the eyeliner from looking too harsh or heavy and allow for more control over the intensity of the wing. Take your time and work in small, precise strokes to ensure a clean and seamless application.
5. Use Tape or Stencils
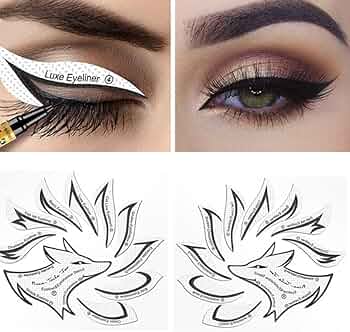
For beginners or those struggling with symmetry, using tape or eyeliner stencils can be a game-changer. Simply place a piece of tape at the desired angle from the outer corner of the eye towards the brow to create a sharp, clean edge. Alternatively, stencil guides can help you achieve perfectly even wings with minimal effort.
6. Clean Up with Concealer

If you make any mistakes or want to sharpen the edges of your wing, dip a small angled brush into concealer and carefully trace along the edges to clean up any smudges or uneven lines. This will give your winged eyeliner a flawless finish and enhance the overall look of your eye makeup.
7. Set with Translucent Powder
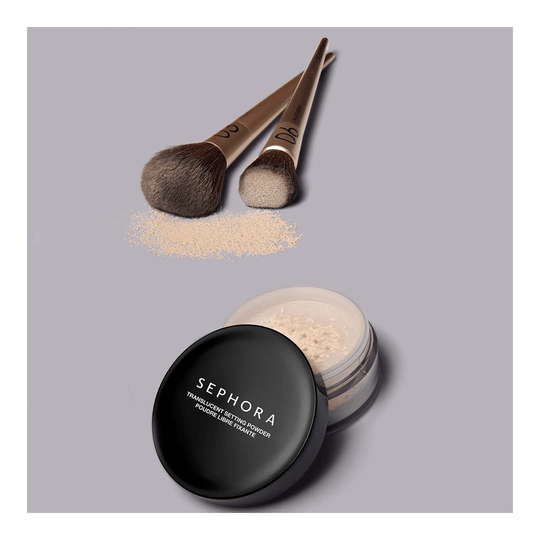
To ensure your winged eyeliner stays in place all day, gently dust a translucent powder over the eyeliner using a small blending brush. This will help to set the product and prevent it from smudging or transferring onto the eyelids, especially in warmer weather or humid conditions.
8. Prepare your tools:

Gather your liquid eyeliner pen and a makeup remover just in case you make mistakes. Make sure your hands are steady and your workspace is well-lit.
9. Start with the base:
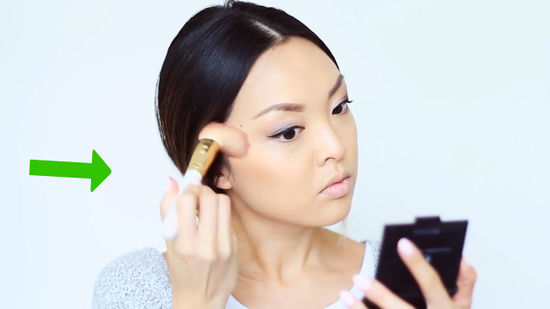
Apply your eyeshadow and any other eye makeup before starting on the eyeliner. This will provide a smooth base for your liner application.
10. Choose your starting point:
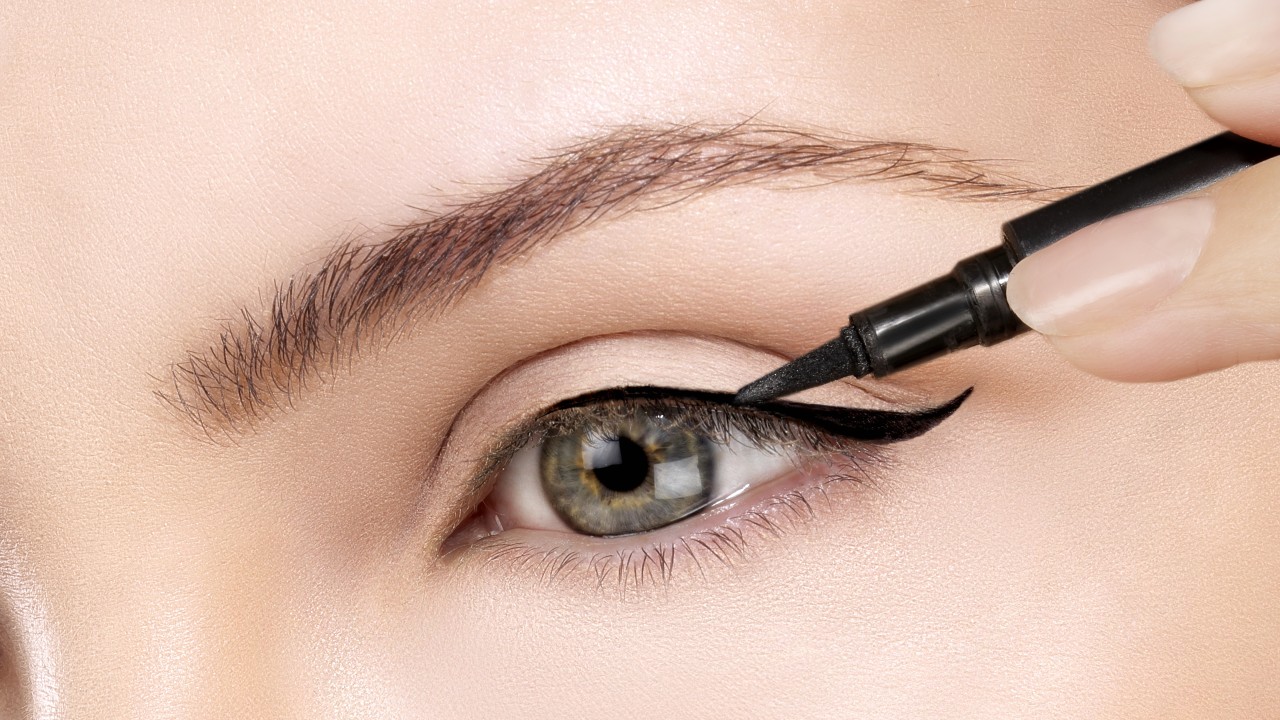
Begin by drawing a thin line along your upper lash line, starting from the inner corner of your eye and working outward. This will serve as the base for your wing.
11. Create the wing:

Decide on the angle and length of your wing. Imagine an invisible line extending from the outer corner of your eye towards the end of your eyebrow as a guide. Place a dot or small line where you want the wing to end.
12. Connect the dots:
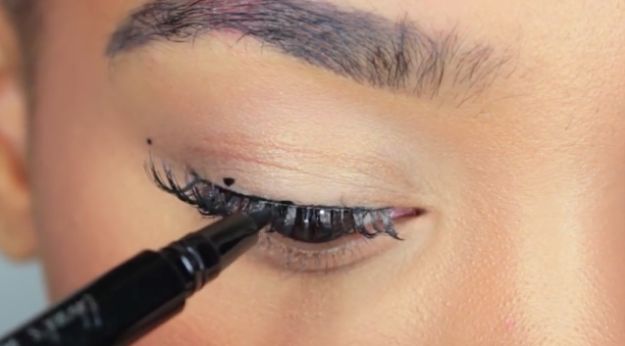
From the dot or line you placed, draw a line towards the base of your lashes, creating the wing shape. You can make this line as thick or thin as you prefer, depending on the desired intensity of your wing.
13. Fill in the wing:

Once you have the outline of your wing, carefully fill it in with the liquid liner, ensuring that the color is evenly distributed and opaque.
14. Touch up any mistakes:

Use a cotton swab dipped in makeup remover to clean up any smudges or uneven lines. You can also use a concealer to sharpen the edges of your wing for a cleaner look
15. Practice makes perfect
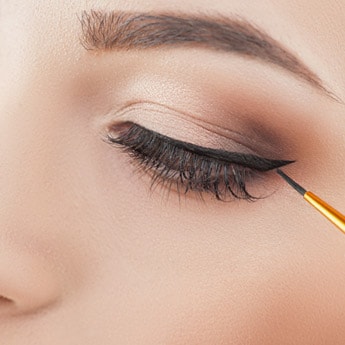
Don’t be discouraged if your first attempt isn’t perfect. Winged eyeliner takes practice, so keep practicing and experimenting with different techniques until you find what works best for you.
Remember to take your time and be patient with yourself as you learn. With practice, you’ll become more confident in your winged eyeliner skills!
16. Thin Lines:
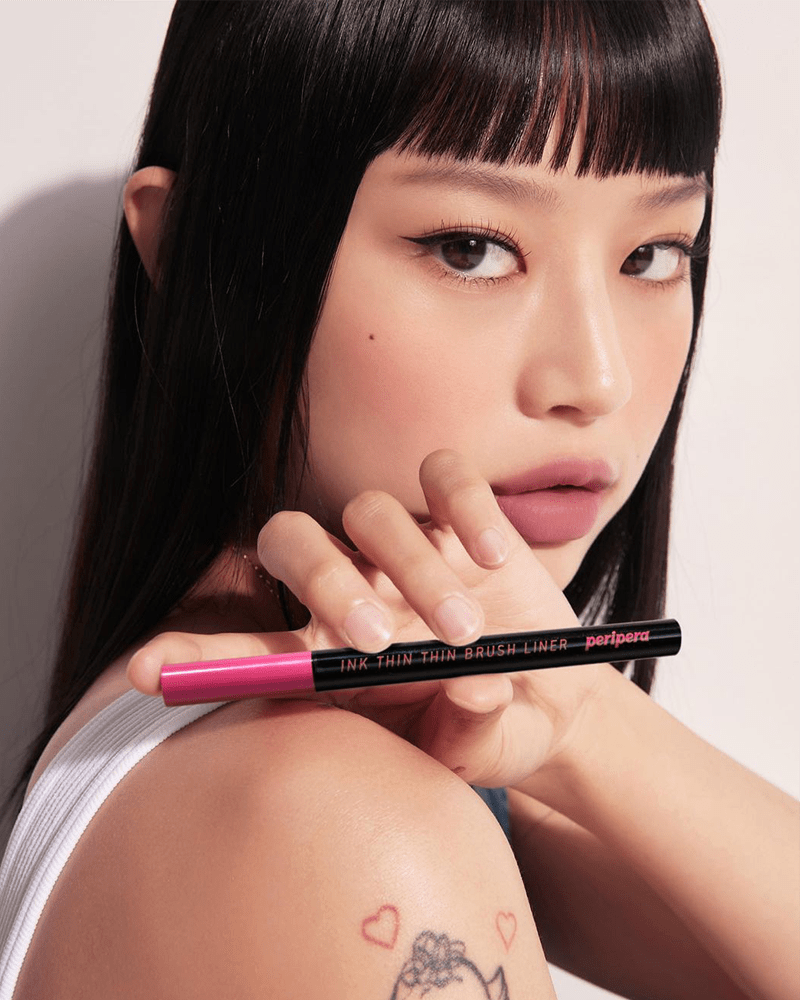
Keep the eyeliner line thin along the lash line to prevent it from getting lost in the hooded fold.
17. Avoid Thick Wings:
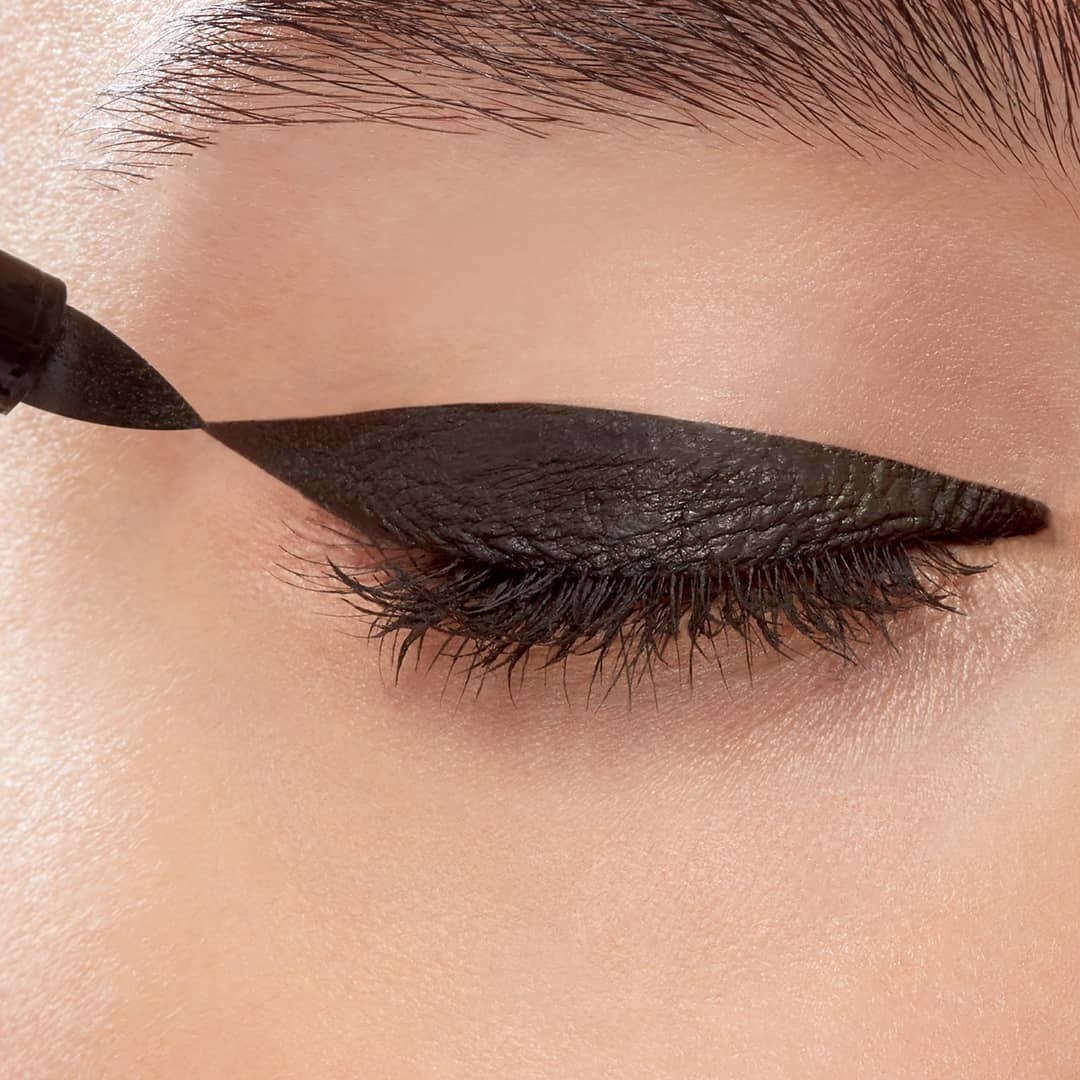
Instead of thick, bold wings, opt for thinner and more subtle wings. This will help avoid overwhelming the eye area and accentuate the shape of the eye.
18. Angle Consideration:
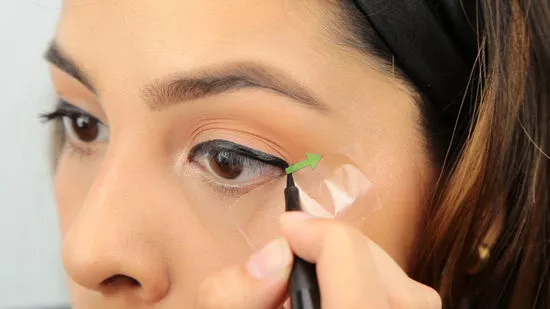
When creating the wing, angle it slightly upward. This can help lift the eyes and create the illusion of more space between the eyelid and the brow bone.
19. Shorter Wings:
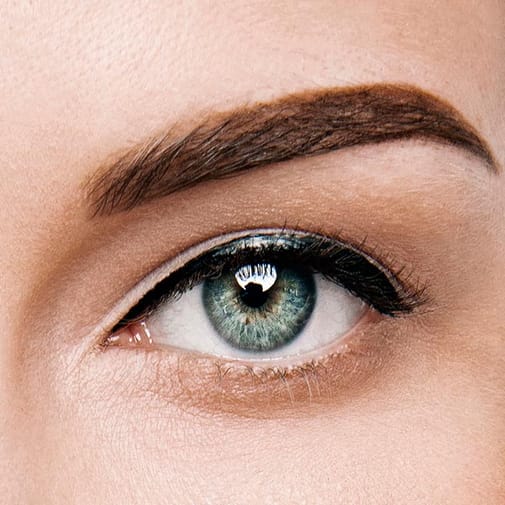
Keep the wing relatively short to avoid it disappearing when the eye is open. Aim for a wing that extends just beyond the outer corner of the eye.
20. Experiment:
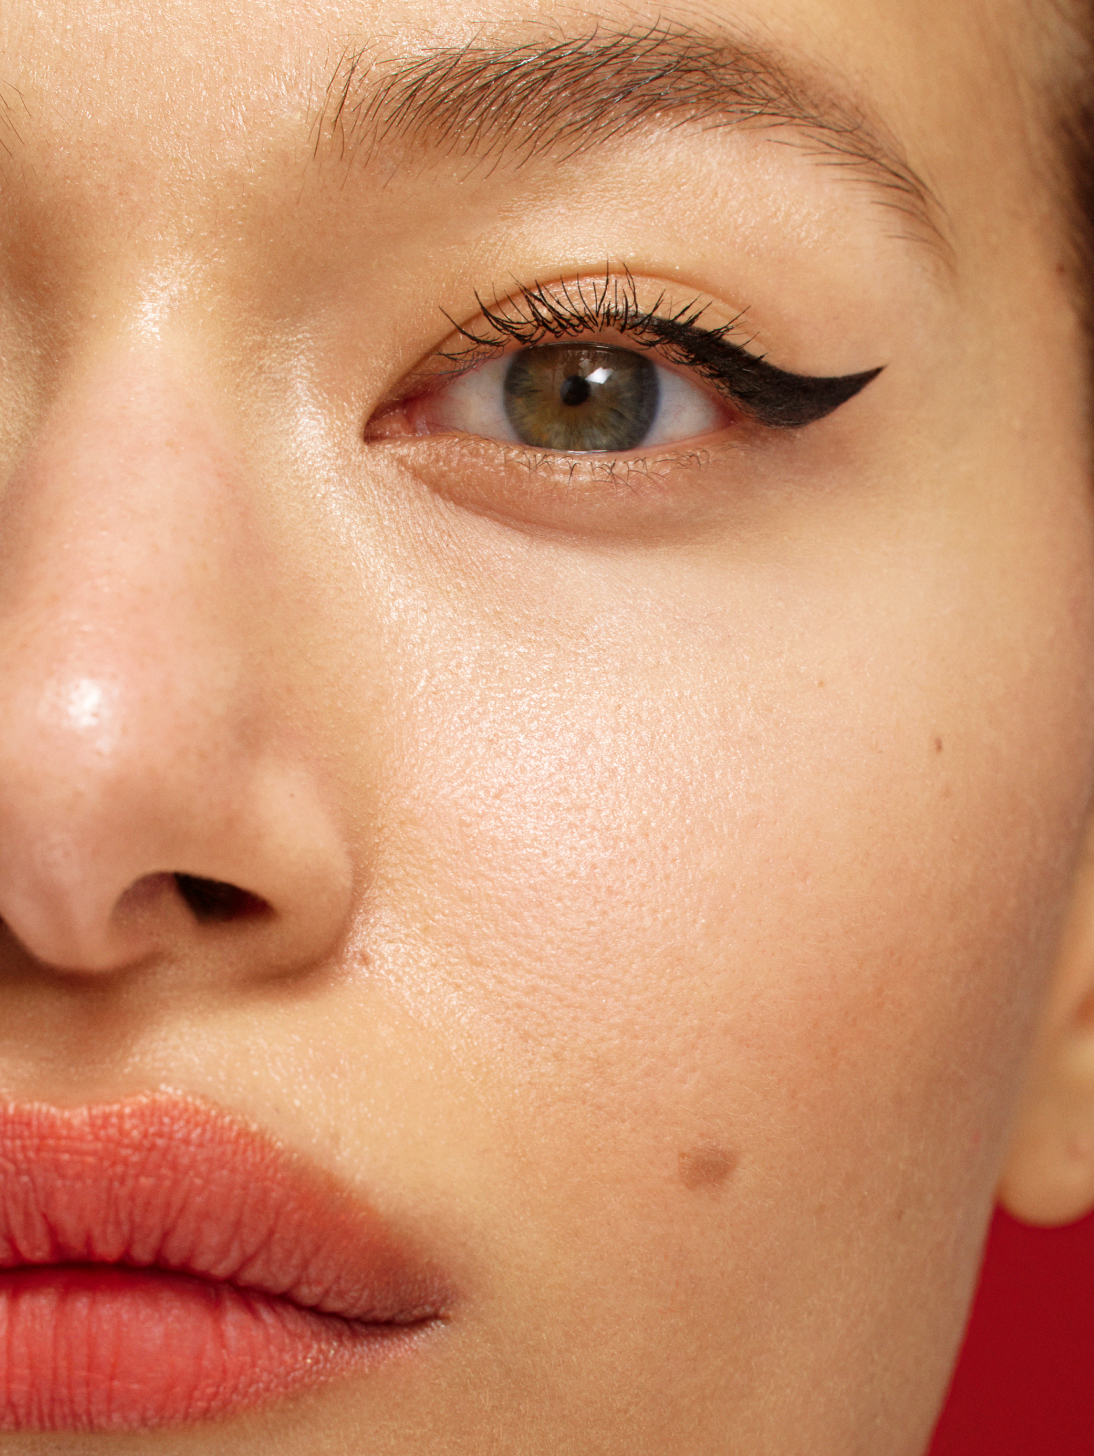
Hooded eyes come in various shapes and sizes, so it may take some experimentation to find the wing shape and angle that best suits your eye shape.
21. Set with Powder
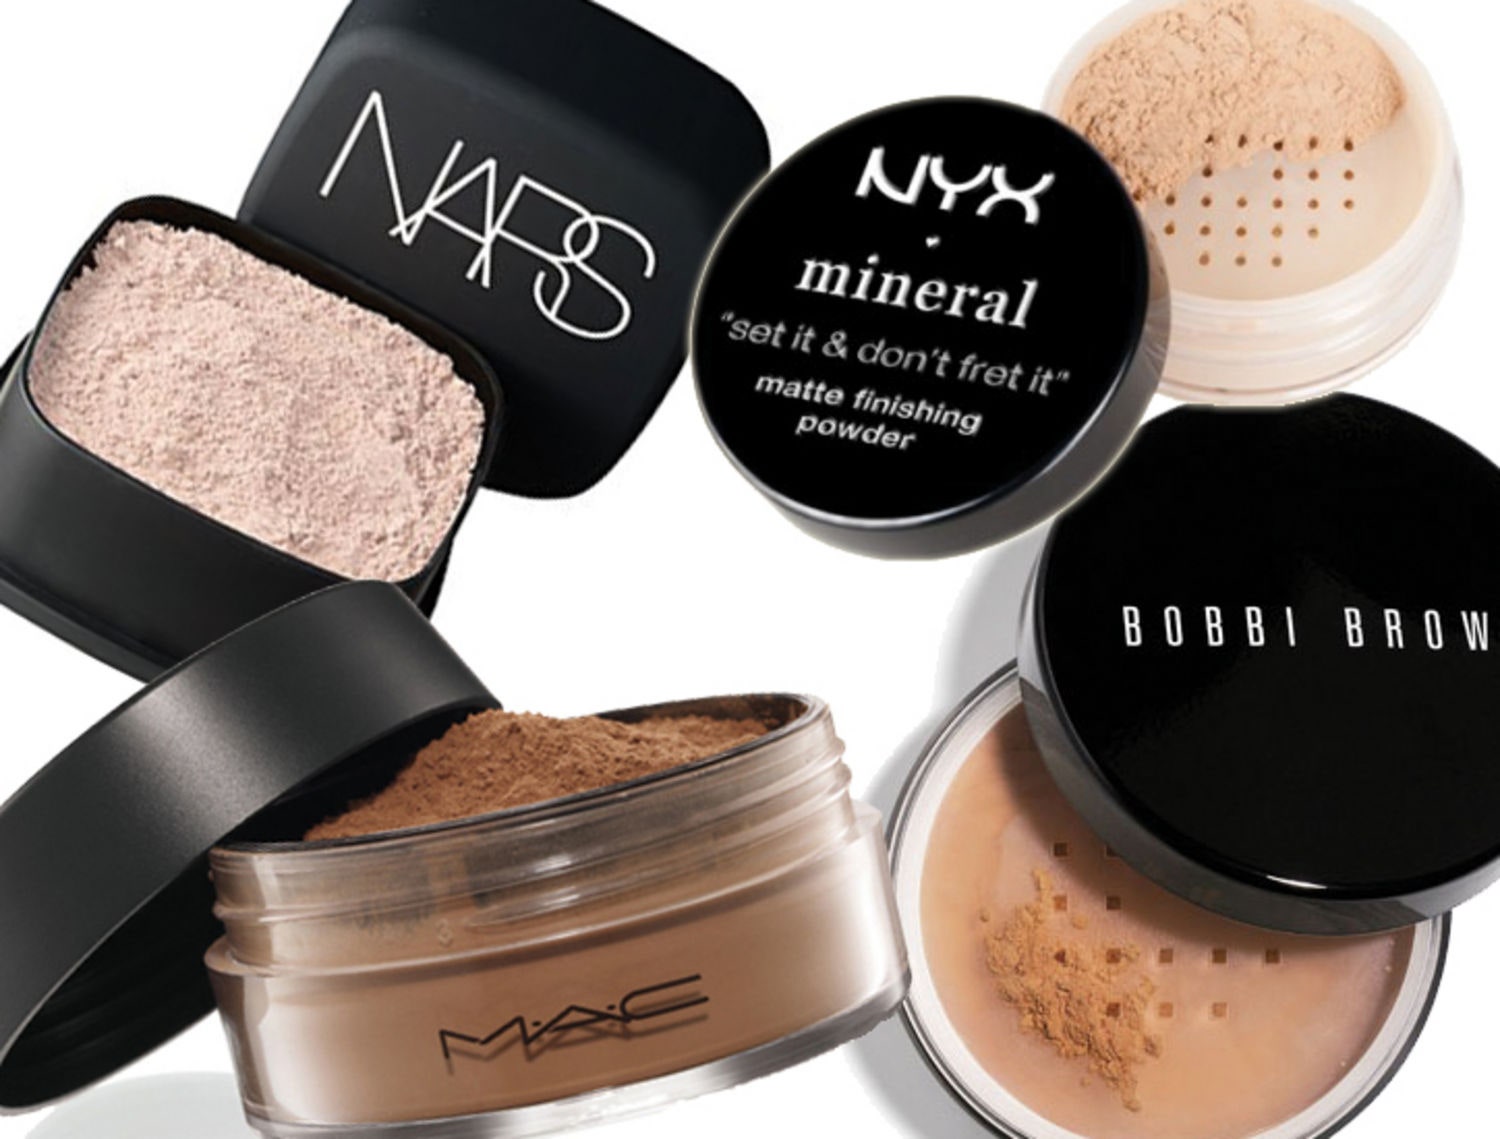
To prevent transfer or smudging onto the upper lid, set the eyeliner with a matching eyeshadow or translucent powder.
Remember, practice and patience are key when it comes to mastering winged eyeliner, especially for hooded eyes. Don’t be afraid to try different techniques and adapt them to suit your unique eye shape.
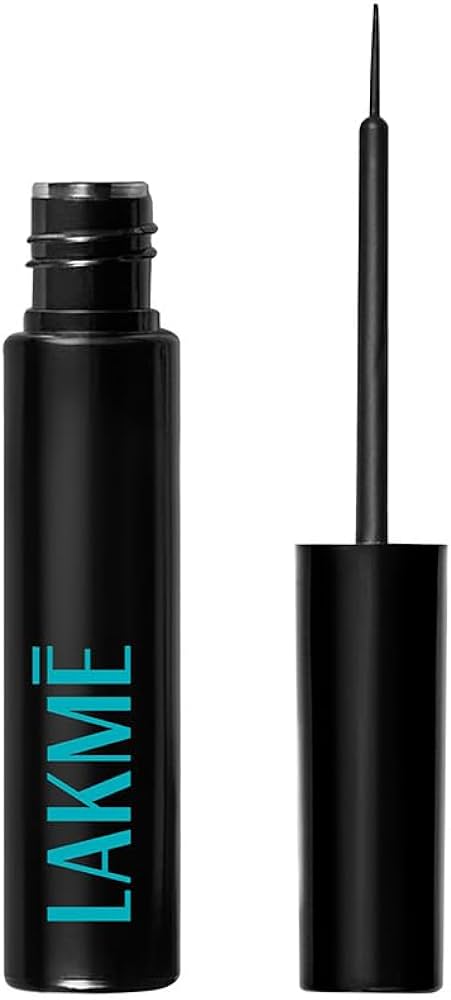
22.Liquid Eyeliner
Liquid eyeliner reigns supreme when it comes to achieving sharp, precise wings. Its thin, brush-like applicator allows for unparalleled control, enabling you to create clean lines with ease. Whether you prefer a classic cat-eye flick or a bold, dramatic wing, liquid eyeliner offers the precision and intensity needed to make a statement. Look for waterproof formulas for long-lasting wear that won’t smudge or fade throughout the day.
